
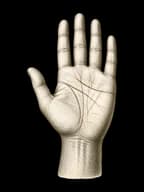
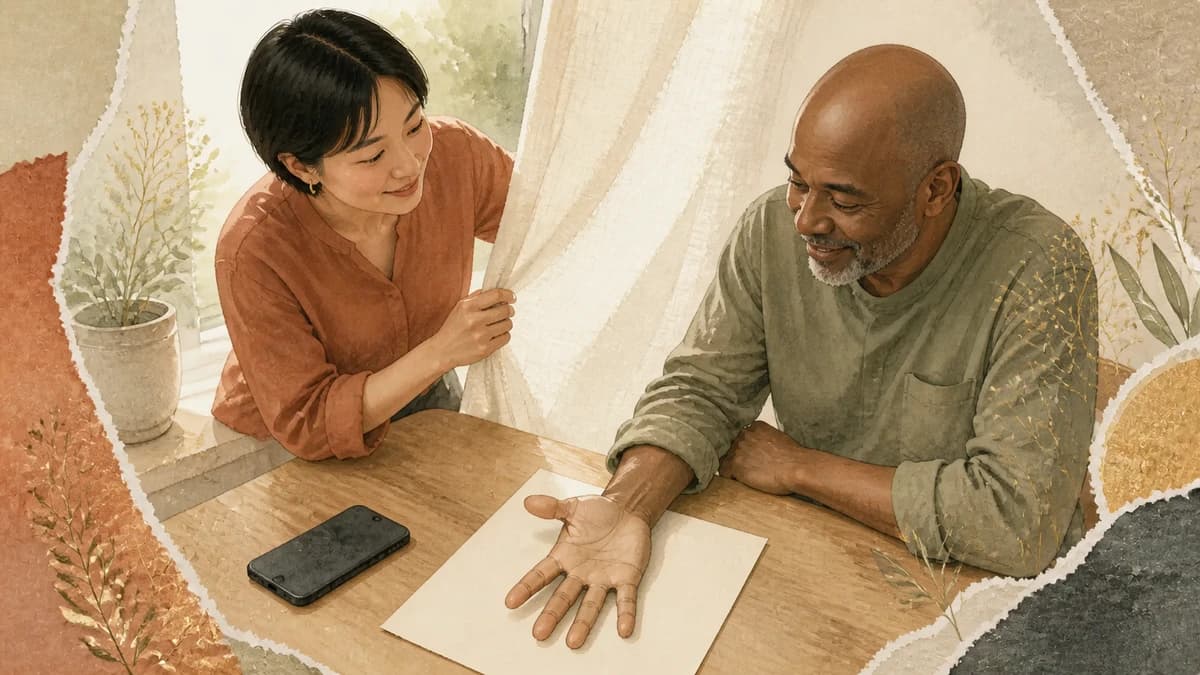
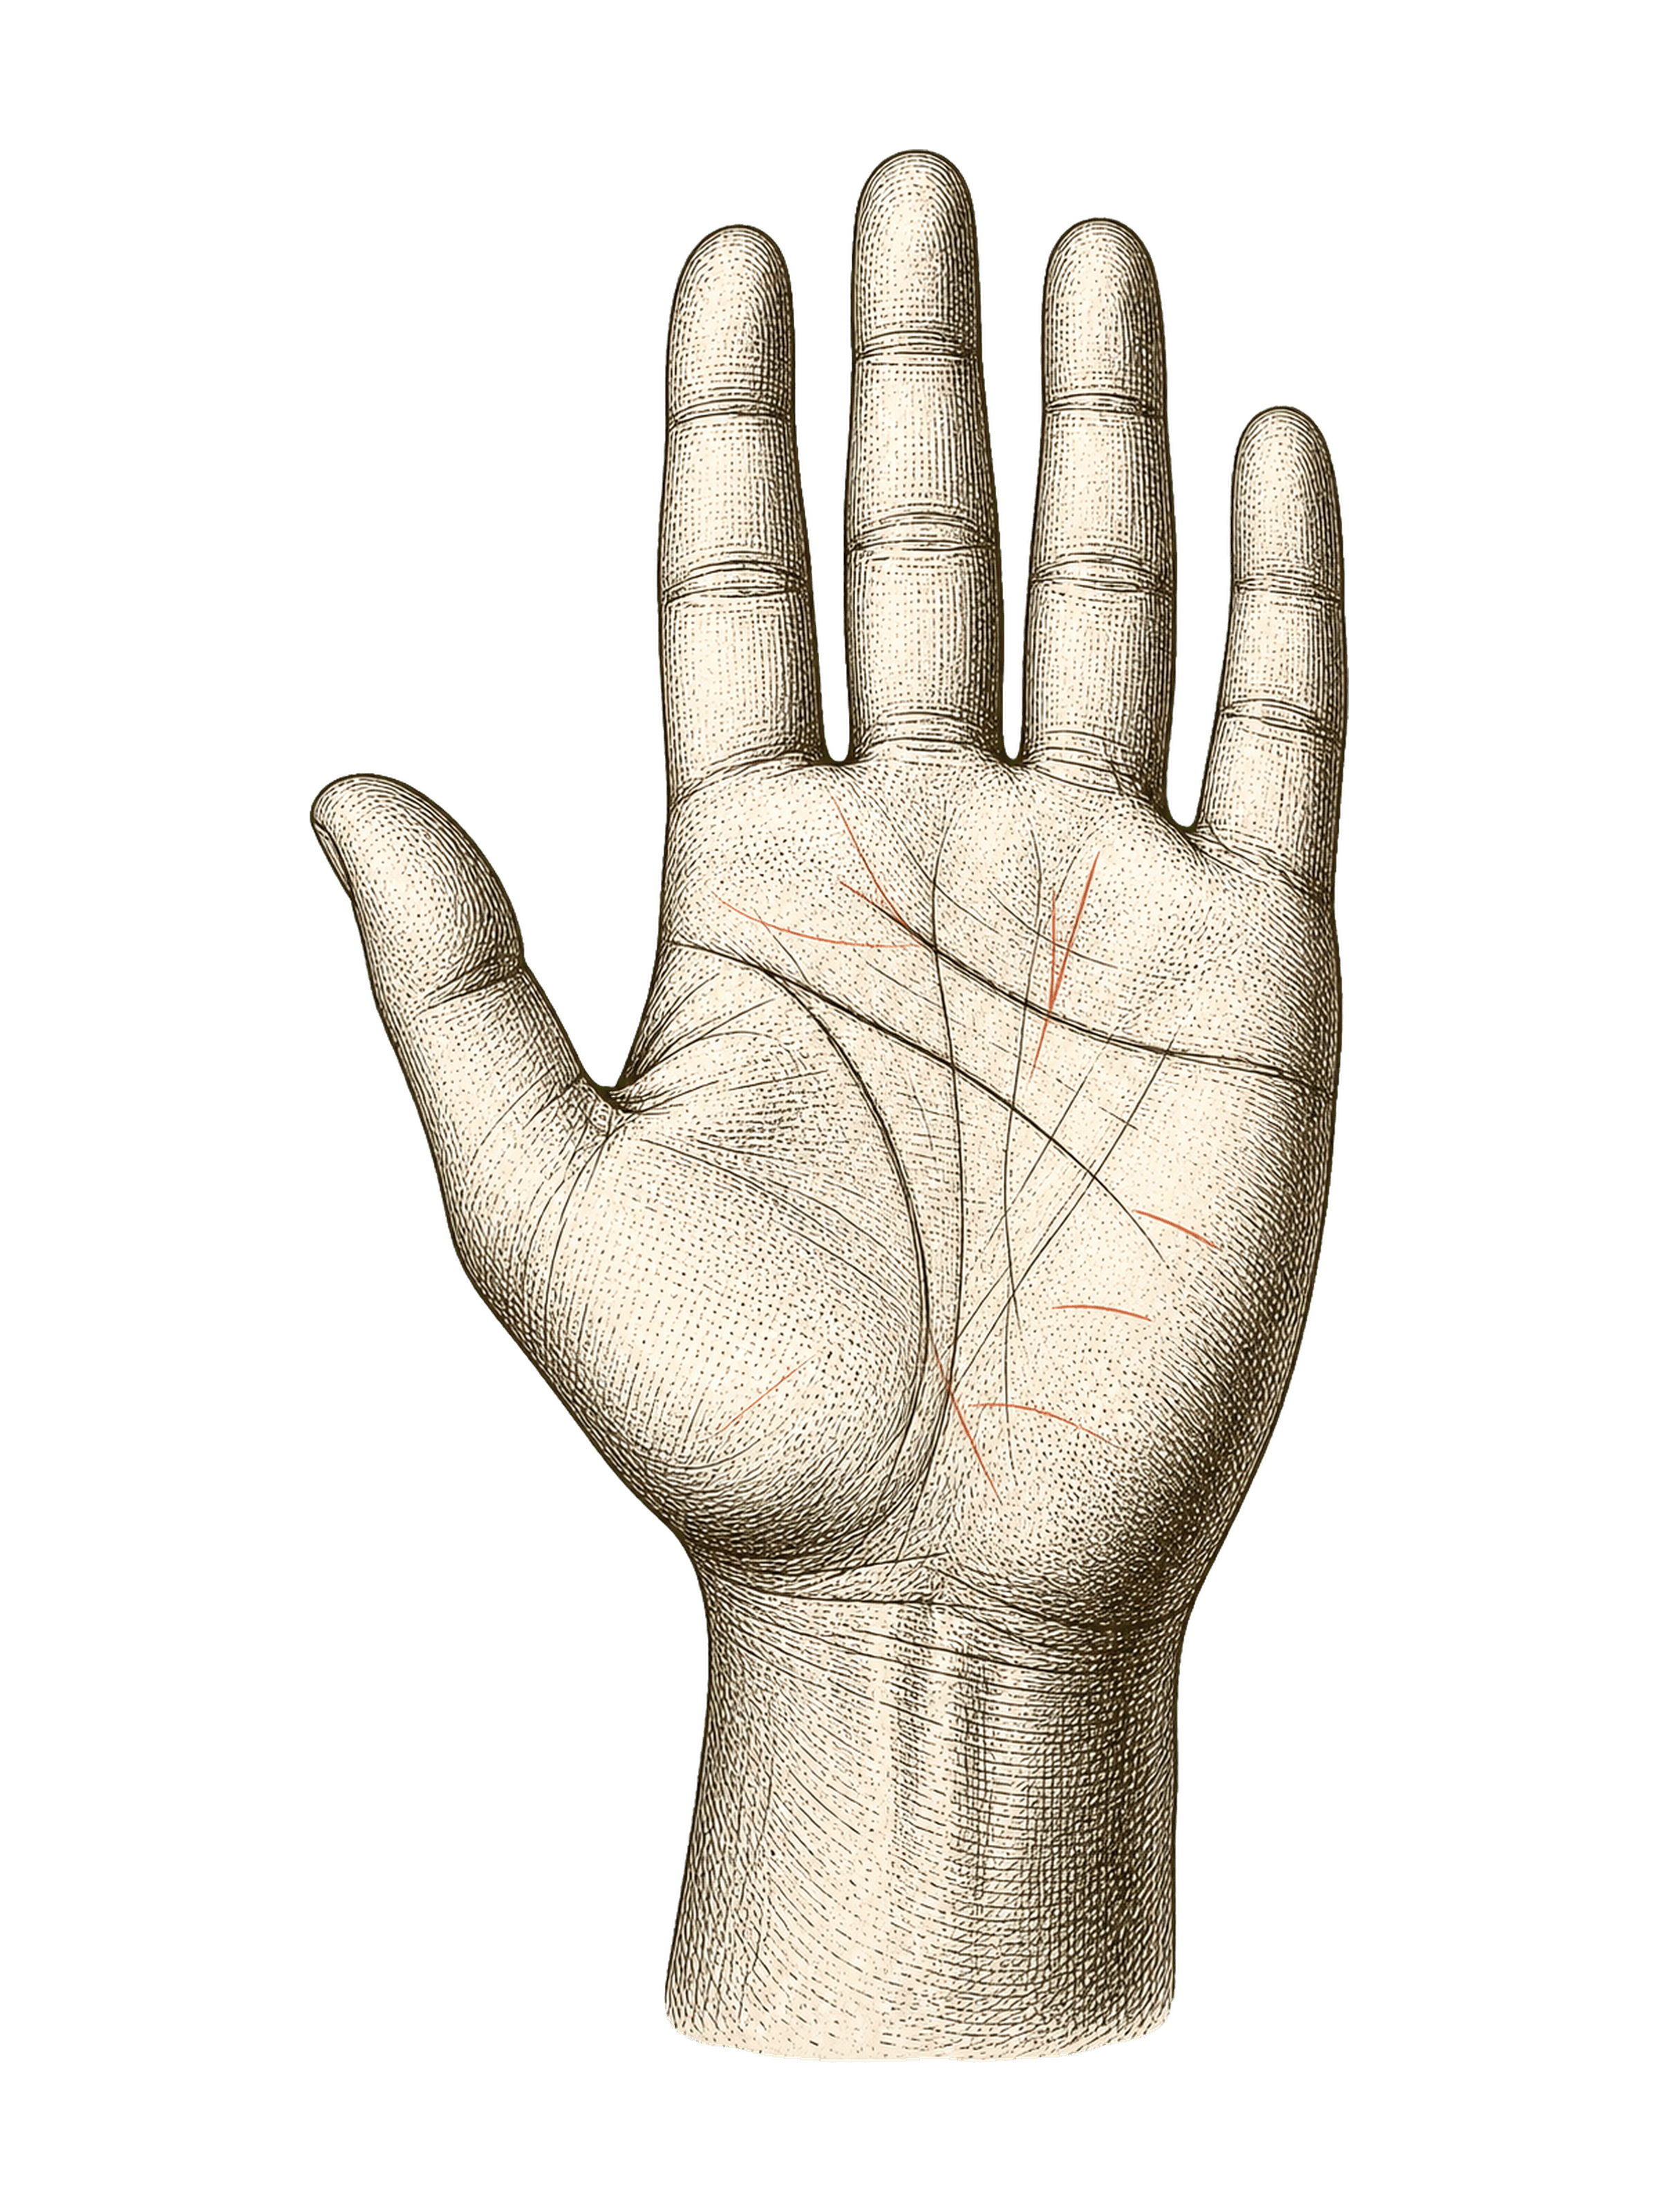
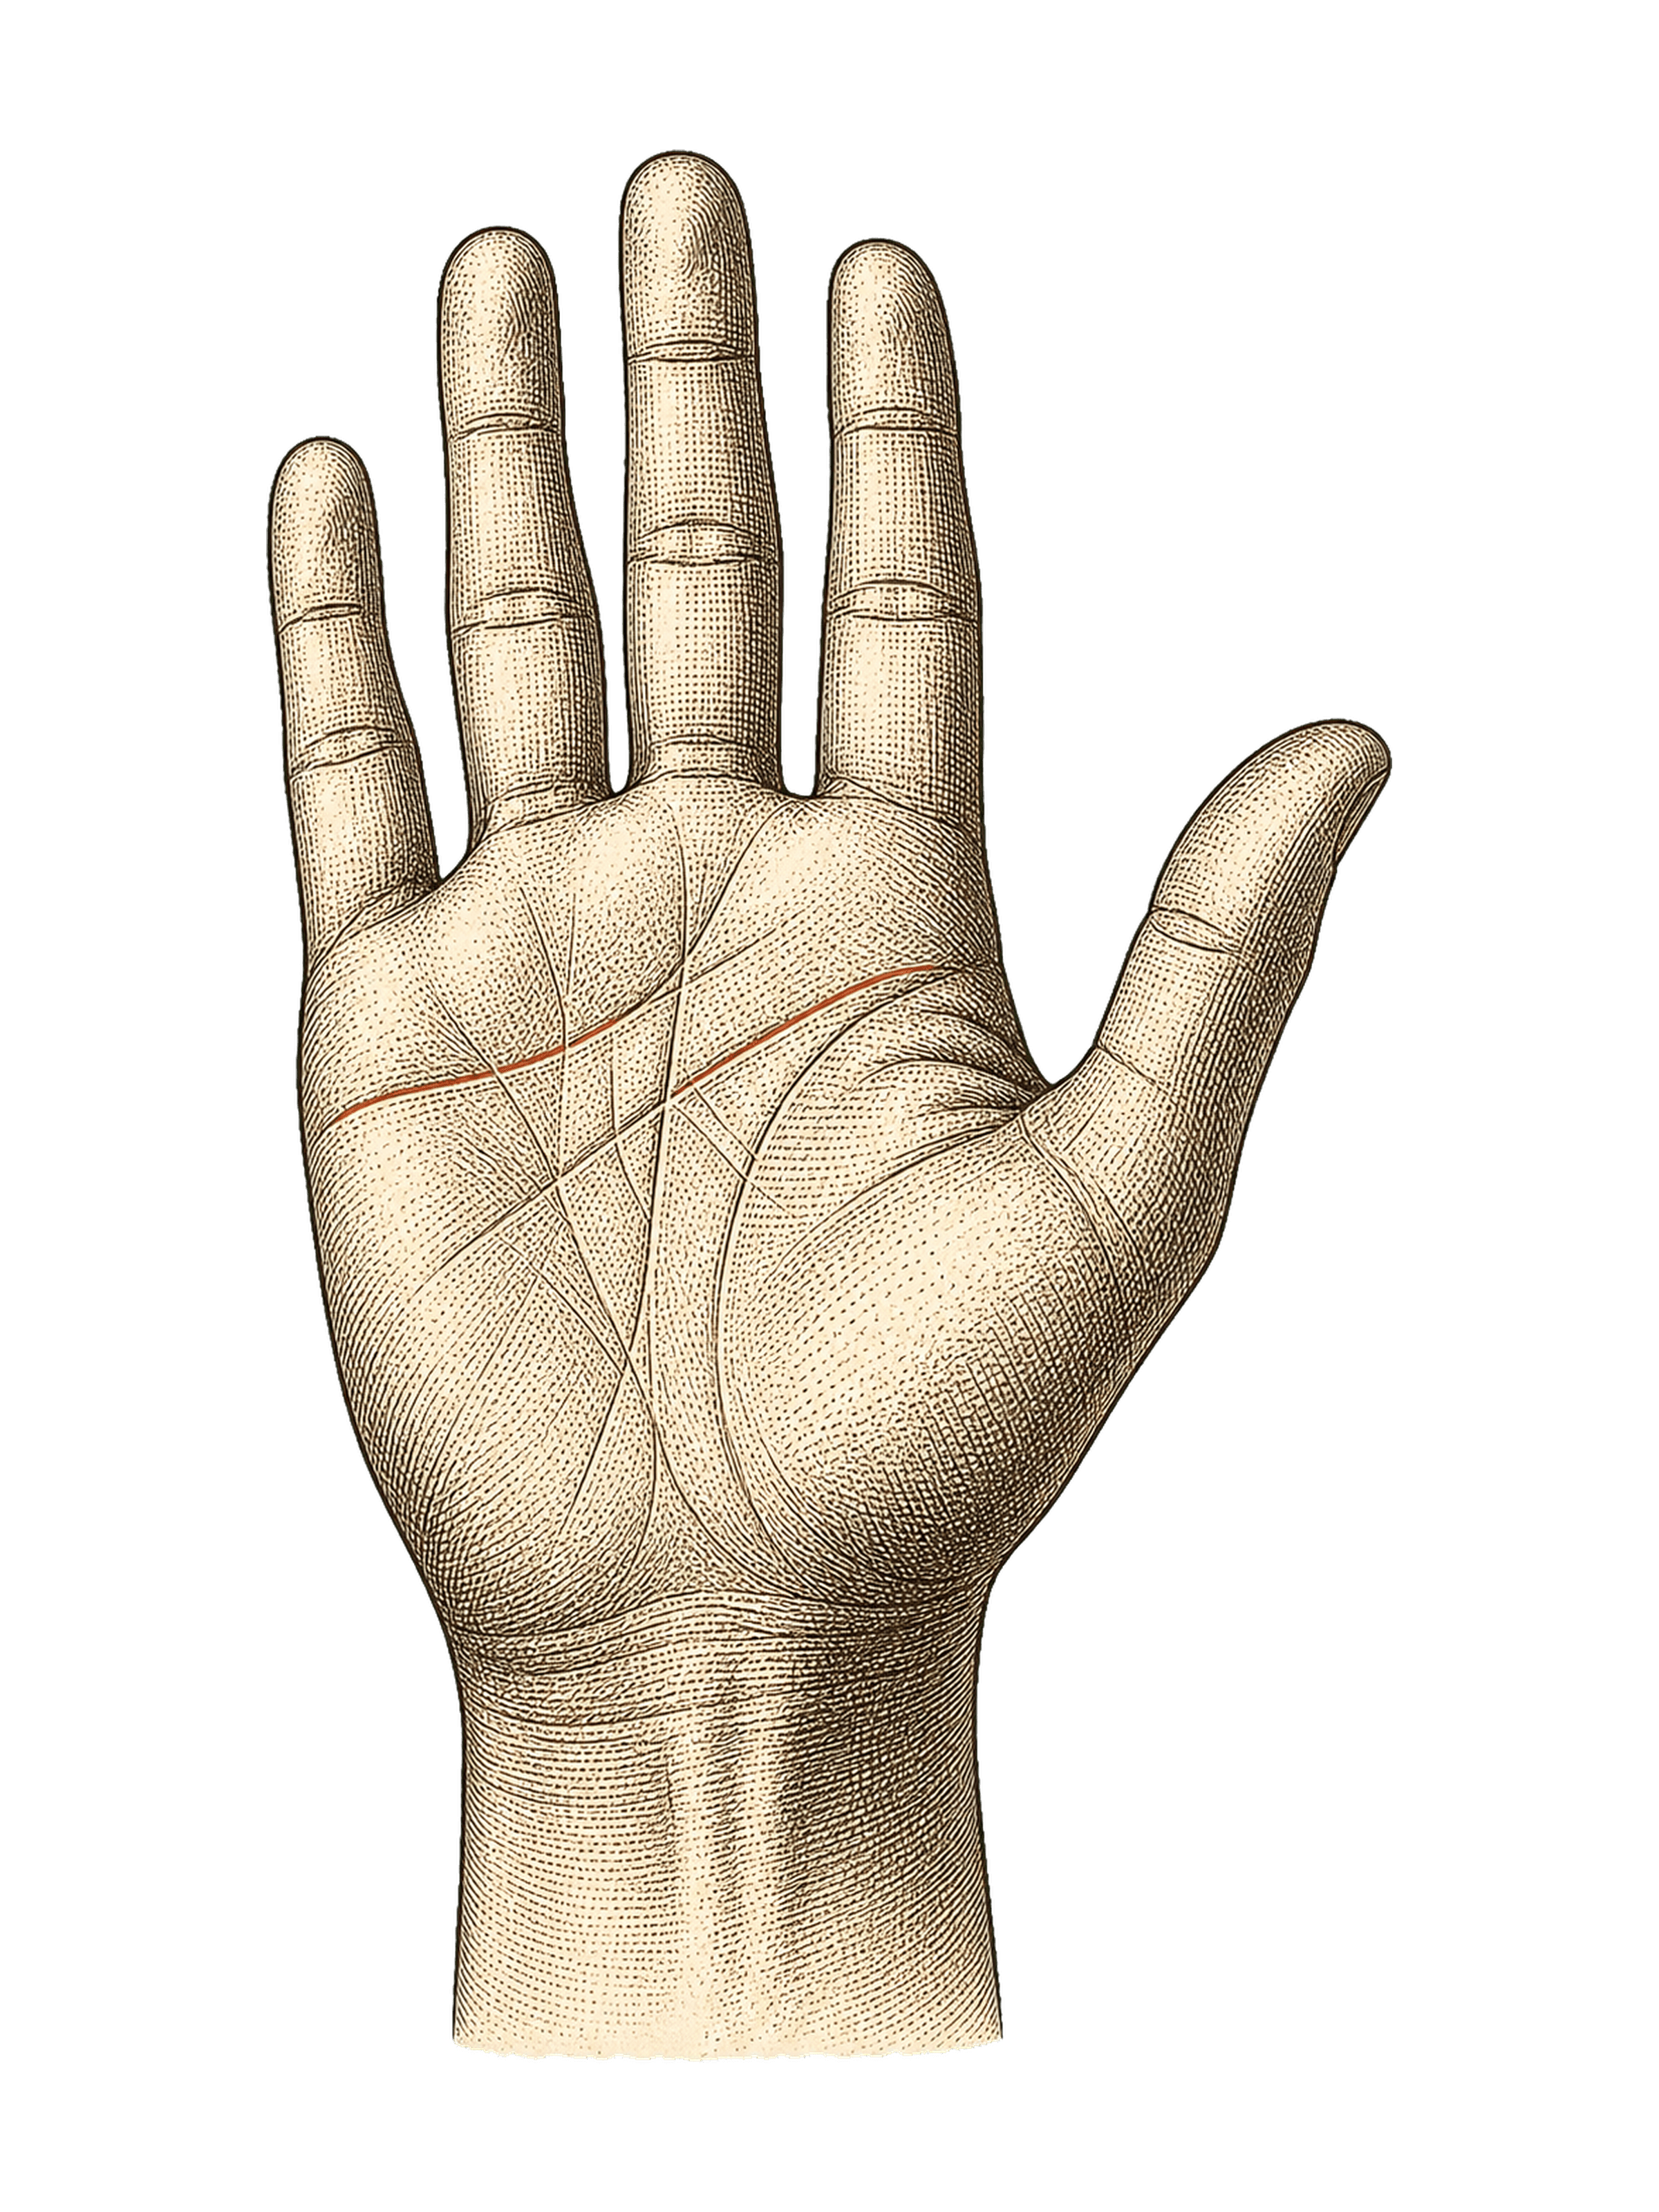
To take a palm photo for reading, show the whole palm, fingertips and a little wrist in even light. Keep the hand relaxed, hold the camera roughly parallel to it, focus on the palm and check the saved photo before uploading. Retake it if blur, glare or a crop hides the detail you wanted to show.

That improves the picture, not the scientific validity of a palm reading. A sharp photograph still cannot establish someone's personality or future.
Set up the hand and background
Use a plain background that makes the edge of the hand easy to distinguish. Move identifying paperwork, other people's faces and anything private out of the frame.
Open your hand comfortably, with a little space between the fingers. Do not stretch so hard that you are forcing a pose, and do not bend the fingers back for the camera. Remove a watch or bracelet if it covers the wrist area you want to photograph.
For a full-palm image, leave room around the fingertips and thumb. A close-up of one crease may be useful for your own comparison, but it is not a substitute for the wider view an uploader requests.
Follow the uploader's labels for which hand to show, and keep left and right photos labelled correctly. Do not flip a picture just to match a diagram. Our map of the palm's traditional mounts uses finger-relative landmarks you can find on either hand.
Want to see yours?
Scan your palm for a full interpretive reading.
Place your palms here
Both palms, please: your left on the left, your right on the right.
Tap to upload
Tap to upload
Required · 18 or older
Photo privacy · Refund terms ·Details
- Your photos are sent to our analysis provider to write your reading. This browser may temporarily keep pending photos for sign-in or recovery. Photos sent from your phone are kept temporarily for hand-off. See our privacy policy for details.
- When you press Read my palms, both photos go to our analysis provider for a clarity check before payment. This checks the photos, not the validity of a reading.
- Doesn't sound like you? Email us within 7 days of your first reading for a full refund, if you haven't used a second. If a photo can't be read, your credit is returned.
- Next: your reading uses one of your readings, or a short checkout if you have none.
Photo tips
 Photo tips
Keep your palm flat, fingers slightly apart and lines in focus. Use bright, even light, and photograph each palm the same way.
 ✓ Like this
 ✕ Too dark
 ✕ Fingers cut off
Adjust light and focus before adding more detail
Try soft, even light—for example, near a window without a stripe of direct sun across the palm. Look at the preview: can you see the main creases, or is a bright patch wiping them out?
Move the light or your hand if needed. Adding a filter is not the fix.
On iPhone, Apple documents tapping the screen to move the focus area and adjusting exposure beside it. You can also hold the focus area to lock focus and exposure. Other camera apps may place those controls differently.
Hold the phone steadily and avoid a steep side angle. If being very close makes the palm blurry, move back until the camera can focus, while keeping the hand large enough to inspect. Check the captured image, not only the live preview.
Ready to use, or worth one retake?
Use this checklist on the saved photo:
| Check | Ready | Retake or adjust |
|---|---|---|
| Framing | Whole palm, fingertips and some wrist visible | Thumb tip, fingertips or relevant wrist area cut off |
| Focus | Main creases have discernible edges | The entire palm looks smeared |
| Light | Detail visible across the palm | Glare or deep shadow covers the area of interest |
| Position | Palm faces the camera comfortably | Hand is strongly tilted or tightly curled |
| Editing | Original-looking skin and creases | Smoothing, drawn lines or a heavy filter changes the surface |
A tiny faint crease is not a reason to take dozens of photos. If the whole picture is clear but a particular mark remains uncertain, keep the uncertainty. Do not draw it in, trace over it or use an AI editor to invent missing detail.
If you are comparing pictures taken months apart, our palm-line changes guide explains why matching the conditions matters.
If PalmMingle will not open the file
PalmMingle's current uploader has two size limits: the original selection may be up to 20 MiB, while the normalised upload must fit within 5 MiB. The interface labels these limits as MB. Those are file-handling limits, not a recommended target size or a promise that every file will decode.
If you see a format error, try saving a copy as JPEG or PNG. Do not just rename the file extension; that does not convert the image. HEIC/HEIF handling can depend on the browser, so use the fallback suggested by the error rather than repeatedly submitting the same file.
If the image is too large, export a smaller copy and check that the creases are still visible. If the app reports a network or service error, repeatedly changing the photo may not address the problem. Keep your original and follow the displayed message.
Before the upload
Check what the service does with your photo, including any browser copy kept during sign-in. Our palm-reading app privacy checklist gives you questions to ask before sending an image.
PalmMingle's reading flow requires sign-in and a reading credit. Review the purchase terms if you choose to continue. These photo tips do not require you to buy or upload anything.
Can I use a picture someone sent me?
Ask their permission before sending their hand photo to another service. Remove unrelated personal details from the frame. If they do not want it uploaded, keep the exercise offline.
Does a clearer photo mean a more accurate reading?
It can make visible features easier to inspect. It does not turn an interpretive reading into a validated personality assessment or prediction.
The hero illustrates a photo setup. It does not show the PalmMingle interface or an actual customer's hand.
Palmistry is an interpretive tradition, not a diagnostic tool. PalmMingle frames palm readings as entertainment and self-reflection, not prediction.